Kamis, 25 April 2024
Ikuti Kami
Android62 Google News
Follow
Facebook
X
Pinterest
LinkedIn
Flickr
YouTube
Tumblr
DeviantArt
Behance
Instagram
vk.com
Telegram
TikTok
Patreon
Flipboard
RSS
Android62
Menu
Home
Aplikasi
GB WhatsApp
Google
Proxy
WhatsApp Mod
Yandex
Blog
Game
How To
News
Berita Utama
Bisnis
Gaya Hidup
Hiburan
Kesehatan
Media Sosial
Olahraga
Pendidikan
Sains
Spiritual
Tips
Teknologi
Gadget
Internet
Mobile
Download
Berita Pilihan
04/03/2024
Cara Mencadangkan Pesan WA GB (GB WhatsApp)
05/03/2024
Cara Transfer Data dari WhatsApp Resmi ke WA GB (GB WhatsApp)
04/03/2024
Cara Transfer Pesan dari WA GB (GB WhatsApp) ke WhatsApp Resmi
Aplikasi
Yandex Com VPN Video Full Bokeh Lights APK Download for Android
31/03/2024
Yandex EU
20/03/2024
Download FM WhatsApp (FM WA) Versi Terbaru Desember 2023
11/03/2024
Download Fouad WhatsApp (Fouad WA) Versi Terbaru Desember 2023
11/03/2024
Download OG WhatsApp (OG WA) Versi Terbaru Desember 2023
11/03/2024
Download GB WhatsApp (WA GB) Versi Terbaru Desember 2023
11/03/2024
Download WhatsApp Aero (WA Aero) Versi Terbaru Desember 2023
11/03/2024
Download WhatsApp Plus (WA Plus) Versi Terbaru Desember 2023
11/03/2024
Download Yo WhatsApp (YO WA) Versi Terbaru Desember 2023
11/03/2024
Ione Club Aplikasi Penghasil Uang Untuk Pendapatan Ekstra
11/03/2024
Yandex Browser Jepang Full Versi Baru Dan Lama Tanpa Iklan
10/03/2024
Apa Itu Yandex? Mesin Pencari dan Layanan Digital Terbaik
10/03/2024
Game
Game
09/03/2024
Game Simulator Android Paling Seru Download Gratis
09/03/2024
Trailer GTA 6 Rockstar Games, Kisah Kejahatan dan Vice City
08/03/2024
Tier List Black Clover M Update Terbaru dengan Karakter Terbaik
08/03/2024
10 Game Penghasil Saldo Dana Tercepat Terbukti Membayar
07/03/2024
Kode Penukaran Higgs Domino Yang Masih Aktif Terbaru Hari Ini
07/03/2024
Chip Domino Murah: Tips dan Strategi Terbaik
How To
How To
25/04/2024
Cara Membuat Ranking Di Excel
24/04/2024
Cara Transfer Pulsa Indosat Ke Indosat
24/04/2024
Cara Tes Kehamilan Tanpa Testpack
24/04/2024
Cara Menagih Hutang Yang Susah Bayar
24/04/2024
Cara Mengatasi Batuk Pada Anak
24/04/2024
Untuk Menampilkan Atau Menjalankan File Presentasi Dengan Cara
News
Shinigami Ae – Situs Baca Manhwa Update Tercepat
24/04/2024
Social Spy WhatsApp: Aplikasi Sadap WhatsApp Online 2024
18/04/2024
APK Injector Hack Slot Online Pragmatic, Peluang Menang Besar!
10/03/2024
Alat Penghitung Togel Otomatis, Keberuntungan atau Keahlian?
10/03/2024
Cara Menyantet Orang Lewat Nomor HP, Mitos atau Kenyataan?
10/03/2024
Tembak Axis V5, Cara Efektif Tambah Masa Aktif dan Kuota
10/03/2024
YouTube 18 Japanese Curry Video Museum Viral 1111.90 l50 204
09/03/2024
Link Grup WA Pemersatu Bangsa Viral Video Bebas Belum Penuh
09/03/2024
Full Video Museum Viral Terbaru No Sensor
09/03/2024
Download Film Indonesia Gratis Terbaru Sub Indo
09/03/2024
Film Japanese Video Museum No Sensor Full HD Terbaru
09/03/2024
Download Lagu MP3 Terlengkap, Panduan Memilih Aplikasi Terbaik
09/03/2024
Teknologi
10/03/2024
APN Telkomsel GPRS Web Tercepat Anti Lemot
09/03/2024
Kumpulan Serial Number IDM (Internet Download Manager) Terbaru
09/03/2024
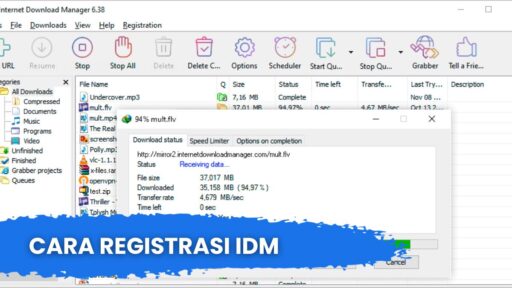
Serial Number IDM Terbaru dan Cara Registrasi IDM Gratis Permanen
08/03/2024
Nokia 150 2023 Ponsel dengan Desain Klasik yang Tetap Relevan
08/03/2024
Samsung The Freestyle 2.0 Siap Luncur di Indonesia, Ini Harga dan Bonusnya
08/03/2024
Keunggulan ZTE Nubia Red Magic 9 Pro Plus yang Diketahui
08/03/2024
Oppo Reno 11: MediaTek vs. Snapdragon, Mana yang Unggul?
08/03/2024
Realme GT5 Pro: Ponsel Kelas Atas dengan Keunggulan Fotografi
08/03/2024
Xiaomi Mix Flip: Kombinasi Desain Elegan dan Teknologi Canggih
08/03/2024
Xiaomi 14 Ultra: Bocoran Spesifikasi dan Tanggal Rilis Terbaru
08/03/2024
Antisipasi Nokia 3310 Ultra: Ponsel Flagship Pilihan 2024
08/03/2024
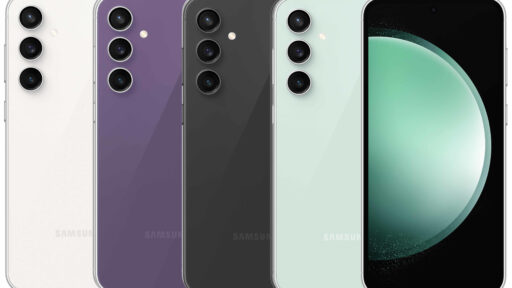
Samsung Galaxy S23 FE Kualitas Flagship Harga Terjangkau
Back to top button